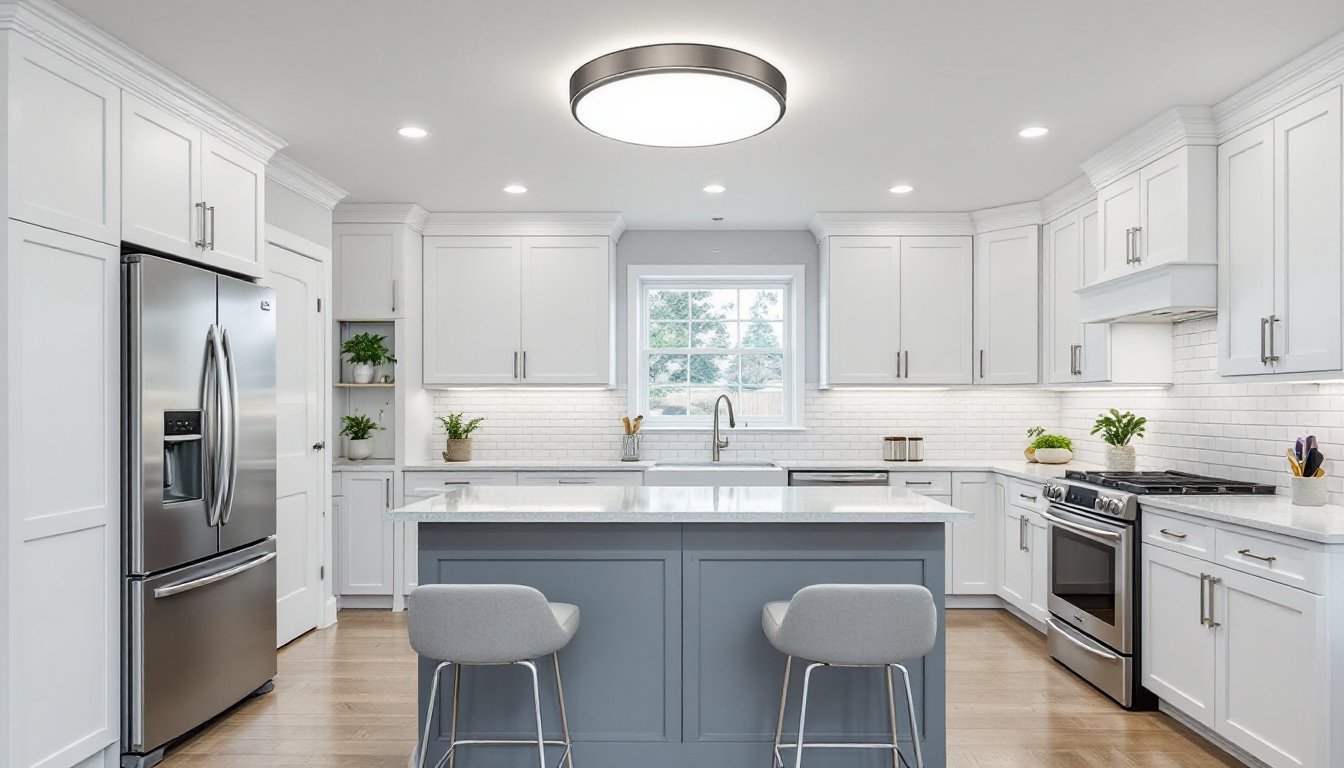
Kitchen flush mount lighting offers a practical solution for homeowners who need bright, even illumination without sacrificing headroom or bumping into pendant fixtures while moving around the workspace. These low-profile fixtures sit tight against the ceiling, providing ambient light across counters, islands, and dining areas. They’re ideal for kitchens with standard or lower ceilings (8 feet or less), and they come in enough styles to complement everything from farmhouse sinks to sleek modern cabinetry. This guide walks through fixture types, sizing rules, bulb choices, and installation steps to help anyone upgrade their kitchen lighting with confidence.
Table of Contents
ToggleKey Takeaways
- Kitchen flush mount lighting provides bright, space-saving illumination ideal for rooms with 8-foot ceilings or lower, keeping fixtures tucked close to the ceiling without creating headroom issues.
- Choose fixture types based on style preference—drum shades for soft diffusion, LED panels for energy efficiency, or industrial cages for farmhouse aesthetics—then pair with under-cabinet task lighting for complete kitchen coverage.
- Select bulbs with 3500K–4000K color temperature and a CRI of 90+ for accurate food prep visibility, and opt for dimmable LED bulbs rated for 15,000+ hours to ensure long-term reliability.
- Size your flush mount fixture by adding room length and width in feet, then converting to inches (a 10×12-foot kitchen needs a ~22-inch fixture), and position multiple smaller units on islands exceeding 6 feet long.
- Follow electrical safety protocols by turning off power at the breaker, confirming the junction box supports the fixture weight, and securing wire connections with properly sized wire nuts before testing at the switch.
- Match the fixture finish to your dominant hardware metal (brushed nickel, matte black, or brass tones) to create a cohesive kitchen design while keeping metal finishes to three or fewer in one space.
What Is Flush Mount Lighting and Why It’s Perfect for Kitchens
A flush mount light attaches directly to the ceiling with minimal or no gap between the fixture base and the ceiling surface. Unlike semi-flush mounts (which hang 4–8 inches down) or pendants (which drop much farther), flush mounts keep the entire fixture profile under 6 inches, often closer to 3–4 inches.
This design prevents head clearance issues in tight spaces, making flush mounts a go-to choice for galley kitchens, basements converted into kitchenettes, or any room where ceiling height is at a premium. They also work well above kitchen islands when the homeowner prefers a cleaner look over statement pendants.
Flush mounts distribute light broadly rather than directionally, which suits ambient lighting needs. Pairing them with under-cabinet task lighting gives a kitchen full coverage without dark corners. They’re easier to clean than multi-bulb chandeliers, dust and grease settle on a single glass or acrylic diffuser rather than dozens of crevices.
Types of Kitchen Flush Mount Lighting Fixtures
Drum Flush Mounts
Drum-style fixtures feature a cylindrical shade, often fabric or metal mesh, surrounding one to three bulbs. They offer a softer, diffused glow and suit transitional or contemporary kitchens. The shade blocks some upward light, which reduces glare but may require higher-wattage bulbs to achieve adequate brightness.
Glass or Acrylic Bowl Fixtures
These classic designs use a translucent dome or bowl that encloses the bulb(s) completely. They’re budget-friendly, easy to find in big-box stores, and simple to install. Frosted glass softens the light: clear glass maximizes output but can cause glare if the bulb is visible. Look for UL-listed damp-rated models if the fixture will sit near a sink or cooktop.
LED Panel Flush Mounts
Integrated LED panels (often square or rectangular) produce bright, even illumination with minimal depth. Many feature edge-lit designs and color-temperature adjustment via a wall switch or remote. They’re energy-efficient and long-lasting, though the LEDs aren’t user-replaceable, when they fail (after 25,000–50,000 hours), the entire fixture needs replacement.
Industrial and Cage Styles
Metal cage or wire-guard fixtures expose Edison-style bulbs and lend an industrial or farmhouse vibe. They provide less diffusion, so shadows can be more pronounced. Use them in kitchens with multiple light sources or pair them with task lighting under cabinets.
How to Choose the Right Size and Placement
Fixture diameter should scale with room dimensions. A common rule of thumb: add the room’s length and width (in feet), then convert that sum to inches for the fixture diameter. For a 10×12-foot kitchen, a fixture around 22 inches wide fits well. In larger kitchens or open-plan layouts, consider two or three smaller flush mounts rather than one oversized unit.
Ceiling height matters. For 8-foot ceilings, flush mounts are the safest choice. If ceilings reach 9 or 10 feet, semi-flush mounts (which hang slightly lower) may provide better light distribution, but flush mounts still work if paired with under-cabinet or recessed lights.
Placement over islands or peninsulas should center the fixture along the workspace. If the island exceeds 6 feet long, two flush mounts spaced evenly look more balanced than a single fixture. Keep fixtures at least 30 inches from the nearest wall to prevent harsh shadows on perimeter counters.
General ambient coverage typically requires 50–75 lumens per square foot for a kitchen. A 100-square-foot kitchen needs 5,000–7,500 lumens total, split across all light sources (flush mounts, under-cabinet strips, and any recessed cans). Check the fixture’s lumen output on the spec sheet, don’t rely on wattage alone.
Best Bulb Types and Color Temperatures for Kitchen Tasks
LED vs. Incandescent vs. CFL
LED bulbs dominate the market in 2026 for good reason: they last 15,000–25,000 hours, generate minimal heat, and use a fraction of the energy of incandescent bulbs. Most flush mounts now ship with integrated LEDs or accept standard E26 screw-base LED bulbs.
Incandescent bulbs still appear in older fixtures, but they burn out quickly (1,000 hours) and waste energy as heat. Avoid them unless the fixture’s vintage design requires it.
CFL bulbs (compact fluorescents) are fading from the market. They take time to warm up, contain trace mercury, and flicker in some dimmer circuits.
Color Temperature (Kelvin)
- 2700K–3000K (Warm White): Mimics incandescent glow. Best for dining areas or kitchens with warm wood tones and traditional cabinetry. Cozy but can make food prep harder in dim conditions.
- 3500K–4000K (Neutral White): Balances warmth and clarity. Suitable for most kitchens, especially those with mixed finishes (stainless appliances, painted cabinets, natural countertops).
- 5000K–6500K (Daylight/Cool White): Crisp, blue-toned light that enhances visibility for detailed tasks like chopping and reading recipes. Works well in modern kitchens but can feel sterile in traditional spaces.
Many homeowners prefer 3500K as a middle ground. If the fixture supports dimming, choose dimmable LED bulbs and pair them with a compatible LED dimmer switch (standard incandescent dimmers often cause LEDs to flicker or hum).
CRI (Color Rendering Index)
Look for bulbs with a CRI of 90 or higher to ensure accurate color rendering of ingredients and finishes. Low-CRI bulbs make reds and greens look dull, which matters when checking meat doneness or produce ripeness.
Top Styles and Finishes to Match Your Kitchen Design
Brushed nickel and chrome remain popular in contemporary and transitional kitchens. Both resist fingerprints better than polished finishes and pair cleanly with stainless-steel appliances.
Matte black or oil-rubbed bronze add contrast in farmhouse or industrial kitchens. Matte black shows less dust and grease than glossy finishes, a practical choice above cooktops or high-traffic areas.
White or off-white fixtures blend seamlessly into ceilings, letting other design elements stand out. They suit minimalist or Scandinavian-inspired spaces where fixtures shouldn’t compete with cabinetry or backsplash tile.
Brass and gold tones have regained popularity as accent finishes. They work best when echoed in cabinet hardware, faucets, or bar stools. Unlacquered brass develops a patina over time, which some homeowners embrace for character.
Glass shades (clear, frosted, or seeded) offer versatility. Clear glass maximizes light output and suits modern aesthetics. Seeded or bubbled glass adds texture and softens glare, fitting cottage or coastal themes.
Match the fixture finish to the dominant hardware finish in the kitchen. If drawer pulls are brushed nickel, a brushed-nickel flush mount ties the room together. Mixing metals is acceptable (brass pendant + chrome flush mount) if intentional, but avoid more than three metal finishes in one space.
Installation Tips and Safety Considerations
Before Starting
Turn off power at the breaker, not just the wall switch. Use a non-contact voltage tester to confirm the circuit is dead before touching any wires.
Check the existing junction box. It must be rated to support the fixture’s weight (most flush mounts weigh 3–8 pounds, well within standard box limits). If replacing a heavy old fixture, inspect the box for cracks or loose mounting screws. Pancake-style boxes work for lightweight fixtures: deeper round or octagonal boxes offer more room for wire nuts and folded wires.
Wiring Basics
Most residential kitchens use 120-volt circuits. Standard wire colors:
- Black (hot): Connects to the fixture’s black or colored wire.
- White (neutral): Connects to the fixture’s white wire.
- Bare copper or green (ground): Connects to the fixture’s ground wire and the metal box if present.
Twist wire ends together clockwise, secure with appropriately sized wire nuts, and wrap the base of each connection with electrical tape. Fold wires carefully into the box, don’t force them or pinch insulation.
Mounting the Fixture
Most flush mounts use a crossbar (a metal strip that screws into the junction box) and a center mounting nut or side screws. Align the fixture canopy over the crossbar, threading the mounting screws through the canopy holes. Tighten evenly to avoid crooked installations.
If the fixture is heavier than 5 pounds, have a helper hold it or use an adjustable support arm while you connect wires.
Testing and Troubleshooting
Restore power at the breaker and flip the switch. If the light doesn’t turn on:
- Confirm the bulb is seated correctly (or, for integrated LEDs, that the fixture isn’t DOA).
- Double-check wire connections, loose neutrals or grounds cause intermittent or no power.
- Test the switch itself with a multimeter if the circuit has power but the fixture stays dark.
Code and Permit Notes
Replacing an existing fixture with a similar one (same voltage, same location) typically doesn’t require a permit in most jurisdictions. Adding a new fixture or relocating a junction box often does. If the kitchen has GFCI-protected circuits (common in new construction or near sinks), ensure the new fixture doesn’t trip the breaker due to a ground fault.
Wear safety glasses when working overhead to protect against falling debris or wire ends. If the fixture uses glass components, keep the diffuser out of harm’s way until final assembly.
Conclusion
Kitchen flush mount lighting delivers practical, space-saving illumination without compromising style. By matching fixture size to room dimensions, choosing the right color temperature for task visibility, and following electrical safety protocols, any DIYer can upgrade their kitchen’s lighting in an afternoon. Pair flush mounts with under-cabinet strips for full coverage, and the kitchen will be brighter, safer, and more inviting for years to come.

