LED tape lights have moved beyond under-cabinet kitchen jobs and into the backyard. These flexible, low-profile strips deliver accent lighting where traditional fixtures can’t reach, under deck railings, along garden paths, inside outdoor kitchens, or wrapped around pergola beams. They’re energy-efficient, dimmable, and surprisingly durable when spec’d correctly. But outdoor installation isn’t just slapping on any strip and hoping for the best. Weather exposure, power requirements, and proper sealing separate a clean install from a flickering mess six months in. This guide covers what to buy, where to use it, and how to wire it so it lasts.
Table of Contents
ToggleKey Takeaways
- LED tape lighting outdoor installations require IP65 or IP67-rated strips with silicone encapsulation to withstand moisture, temperature swings, and UV exposure—standard indoor tape will corrode within a season.
- 24V configurations are ideal for outdoor LED tape lighting runs longer than 16 feet to minimize voltage drop and ensure consistent brightness across the entire strip.
- Proper surface preparation, aluminum channel mounting, and weatherproof connectors are essential to prevent adhesive failure and corrosion, with solder-and-heat-shrink connections being the gold standard.
- Choose LED density based on application: 60 LEDs per meter is sufficient for accent lighting on deck railings and paths, while 120 LEDs per meter works better for task lighting in outdoor kitchens.
- Undersized power supplies and wiring cause dimming and flickering; calculate total wattage with 20% overhead and use 12 AWG wire for longer runs to maintain proper voltage delivery.
- Routine maintenance including twice-yearly connection inspections, gentle cleaning, and voltage drop testing will extend LED tape lighting outdoor system lifespan and catch issues before they escalate.
What Is Outdoor LED Tape Lighting and Why Use It?
Outdoor LED tape lighting, also called LED strip lights or ribbon lights, consists of small surface-mount LEDs soldered onto a flexible circuit board, backed with adhesive. Standard strips come in 12V or 24V configurations, with 24V being better for longer runs due to lower voltage drop. The tape is typically sold in 16.4-foot reels and can be cut at designated points every few inches.
Unlike bulky floodlights or individual puck lights, tape lighting offers continuous, linear illumination without visible hot spots. It tucks into tight spaces: the underside of a handrail, the toe kick of an outdoor bar, or recessed into aluminum channels for a built-in look. Because the strips draw minimal current, often 4 to 7 watts per foot, they won’t spike an electric bill or overload a circuit.
Outdoor-rated versions differ from indoor tape in two critical ways: higher IP (ingress protection) ratings and UV-resistant coatings or silicone encapsulation. Indoor strips exposed to rain, snow, or even morning dew will corrode quickly. Outdoor strips are built to handle moisture, temperature swings, and direct sun without yellowing or failing within a season.
Key Features to Look for in Outdoor LED Tape Lights
Not all tape labeled “outdoor” will survive a Midwest winter or a Texas summer. Here’s what separates weekend-warrior products from contractor-grade gear.
LED density matters for brightness and uniformity. Common options are 30, 60, or 120 LEDs per meter. For accent lighting, deck edges, planters, 60 LEDs/m is plenty. Task lighting (outdoor kitchen counters, work zones) benefits from 120 LEDs/m to avoid shadowy gaps.
Color temperature ranges from warm white (2700K–3000K) to cool white (5000K–6500K). Warm tones blend with landscape lighting and feel residential. Cool whites work for security applications or modern hardscapes. RGB or RGBW strips offer color-changing effects but add complexity in wiring and control.
CRI (color rendering index) of 80+ ensures that outdoor materials, stone, wood, foliage, look natural instead of washed out. Cheap strips often sit below CRI 70 and make everything look flat.
Cut points every 2 to 4 inches allow precise length trimming. Cutting elsewhere severs the circuit and wastes the remainder.
IP Rating and Weather Resistance
The IP rating is the single most important spec. It’s a two-digit code: the first digit covers solids (dust), the second covers liquids (water).
- IP65: Silicone coating on the face: resistant to splashes and rain but not submersion. Suitable for covered patios, soffits, or pergolas with overhead protection.
- IP67: Fully encased in silicone: can handle brief submersion up to 1 meter. Use this for ground-level paths, planters, or any location with standing water exposure.
- IP68: Submersible beyond 1 meter for extended periods. Overkill for most residential jobs but necessary for pond edges, fountain surrounds, or marine docks.
Don’t trust vague “waterproof” claims. Verify the IP rating in product specs. Also check if the power supply and connectors match or exceed the strip’s rating, a IP67 strip connected with an IP20 splice is only as good as its weakest link.
Popular Outdoor Applications for LED Tape Lighting
LED tape thrives where conventional fixtures are clunky or impractical. Here are proven outdoor applications.
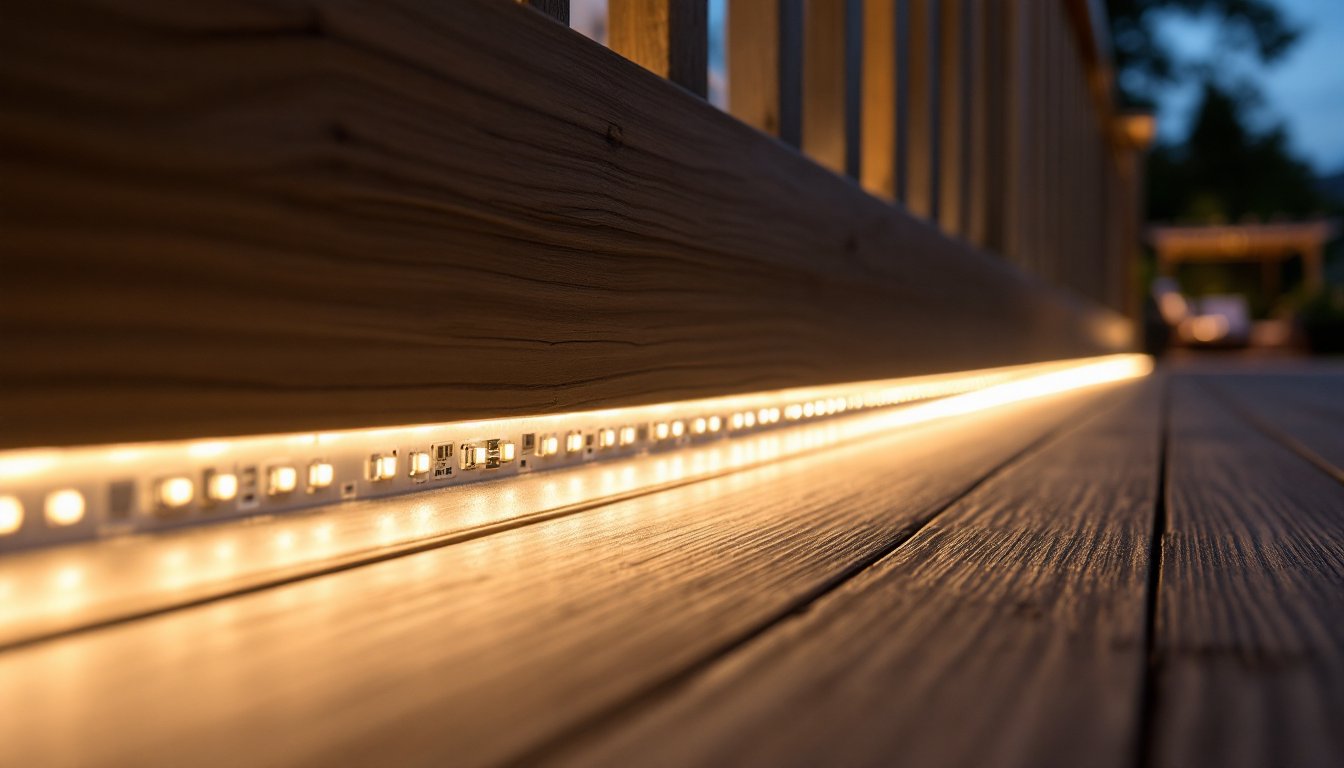
Deck and stair lighting: Run strips along the underside of railings, inside post caps, or recessed into stair treads using aluminum channels. This provides safety illumination without glare. Use IP65 minimum: IP67 if the deck sits low and splash-back is likely.
Soffit and eave accents: Mount tape in the soffit recess or along fascia boards to uplight the roofline. Creates architectural drama and keeps the strips weather-protected. IP65 is usually adequate here.
Landscape and pathway borders: Lay IP67-rated strips in shallow channels along garden beds, retaining walls, or driveway edges. Pair with aluminum extrusions designed for ground mounting, these add impact protection and a cleaner beam spread.
Outdoor kitchens and bars: Under-counter task lighting follows the same logic as indoor installs but requires IP65+ and food-safe silicone. Avoid adhesive-only mounting on porous stone or brick: use clips or channels to prevent peeling.
Pergolas and gazebos: Wrap strips around beams, inside grooves, or along the top plates. Warm white at low intensity keeps the space inviting without attracting insects the way high-UV sources do.
Pool and spa surrounds: Only IP68-rated strips approved for pool/spa use. Check local electrical codes, many jurisdictions require low-voltage fixtures within a certain distance of water, and some mandate GFCI protection or even licensed electrician installation.
Installation Tips for Outdoor LED Tape Lights
Outdoor LED tape demands more prep than slap-and-stick. Follow these steps for a reliable install.
1. Surface prep is everything. Clean mounting surfaces with isopropyl alcohol and let dry fully. Adhesive won’t bond to dirt, oil, or moisture. On porous surfaces (raw wood, concrete, brick), use aluminum channels with screw-mount brackets instead of relying on tape adhesive alone.
2. Plan wire runs before cutting. Measure the full route, accounting for corners and obstacles. Most tape can be cut only at marked intervals, usually every 2 to 4 inches. Mark cut points with a pen before powering anything on.
3. Use weatherproof connectors. Solder and heat-shrink is the gold standard, but quality snap connectors rated IP67+ work if installed correctly. Never leave bare copper exposed. Use silicone sealant at every connection point, even inside enclosures.
4. Mount in channels when possible. Extruded aluminum channels protect the strip, improve heat dissipation, and diffuse the light with snap-in lenses. Channels also provide clean mounting holes for screws. U-channel works for flat surfaces: corner channels fit 90-degree angles.
5. Secure every 12 to 18 inches. Adhesive alone will fail in temperature swings. Add mounting clips or cable ties through channel slots to prevent sagging or peeling.
6. Test before final mounting. Connect the entire run to the power supply and verify brightness, color consistency, and function. Fixing a bad connection after sealing everything is miserable.
7. Protect the power supply. Even if it’s rated for outdoor use, mount the supply in a weatherproof junction box or enclosure with conduit entries. Direct sun and pooling water shorten power supply life.
Choosing the Right Power Supply and Controls
Underpowered or mismatched supplies cause dimming, flickering, or early failure. Here’s how to size and select the right gear.
Calculate total wattage: Multiply the strip’s watts per foot by total length. Add 20% overhead for safety. Example: 50 feet of 5W/ft strip = 250W × 1.2 = 300W minimum supply.
Match voltage: If the strip is 24V, use a 24V power supply. Mixing voltages damages LEDs instantly. Most outdoor residential runs use 24V for lengths over 16 feet to minimize voltage drop.
Weatherproof rating: Power supplies should be IP65 minimum if installed in a protected enclosure, IP67 if exposed. Look for UL or ETL listing.
Wiring and wire gauge: Use landscape lighting wire (direct-burial rated) for underground or exposed runs. For 12V systems under 50 feet, 14 AWG is usually safe: longer runs or 24V may need 12 AWG. Undersized wire causes voltage drop, distant sections dim noticeably.
Controllers and dimmers: Simple on/off can run through a weatherproof switch or smart plug. PWM dimmers allow brightness control. For RGB/RGBW strips, use a compatible RGB controller with weatherproof housing. Wi-Fi or Zigbee controllers add app-based control but require stable outdoor network coverage.
Timers and photocells: Integrate a landscape lighting transformer with built-in timer or add an external photocell to automate on/off at dusk and dawn. This is more reliable than remembering to flip a switch and extends LED lifespan by reducing unnecessary run time.
Maintenance and Troubleshooting Your Outdoor LED Strips
Outdoor LED tape is low-maintenance but not zero-maintenance. Routine checks keep the system running.
Inspect connections twice a year. Look for corrosion, loose wires, or cracked sealant. Reseal any suspect joints with fresh silicone.
Clean the strips gently. Wipe away dirt, pollen, and cobwebs with a damp cloth. Avoid pressure washers, they can force water into encapsulation seams.
Check for voltage drop. If the far end of a run appears dimmer, measure voltage at the strip’s end with a multimeter. Voltage more than 10% below rated (e.g., under 10.8V on a 12V system) means undersized wire or too long a run. Split the circuit or upsize the wire gauge.
Replace failed sections promptly. Individual LEDs rarely fail, but if a segment goes dark, it’s usually a bad solder joint or damaged circuit trace. Cut out the dead section at the nearest cut marks and splice in a new piece with weatherproof connectors.
Protect against pests. Mice and squirrels occasionally chew low-voltage wire. Run wiring inside conduit in areas with rodent activity.
Watch for UV degradation. Even UV-resistant strips will yellow or crack after years of direct sun. If mounting in full-sun zones, use aluminum channels with UV-stabilized lenses to extend life.
Test GFCI outlets monthly if your system plugs into one. Press the test button to confirm it trips: reset to restore power. A faulty GFCI won’t protect against shock hazards.

