Dim countertops make prep work harder than it needs to be. Shadows from overhead fixtures fall exactly where hands are working, turning simple tasks like dicing onions or reading recipes into squint-fests. Under cabinet lighting kits solve this by washing work surfaces in direct, shadow-free light. These systems have come a long way from the buzzing fluorescent strips of decades past, modern kits use efficient LEDs, install in minutes, and offer dimming, color temperature control, and wireless operation. Whether tackling a quick kitchen upgrade or wrapping up a full remodel, the right under cabinet lighting kit transforms functionality without requiring an electrician or a demo permit.
Table of Contents
ToggleKey Takeaways
- An under cabinet lighting kit eliminates shadows on countertops by mounting matched LED fixtures directly beneath cabinets, providing shadow-free task lighting without requiring an electrician or permit.
- LED strip lights offer continuous, even illumination and bend around corners, while puck lights provide spot coverage and linear bar lights deliver a finished look—choose based on your kitchen layout and aesthetic preferences.
- Select a kit with 250–350 lumens per linear foot, a Color Rendering Index above 90, and adjustable dimming to ensure accurate colors, adequate brightness, and flexibility for different kitchen tasks.
- Plug-in kits install fastest with minimal tools, hardwired systems provide a cleaner look and add home value but require electrical permits and professional installation, while battery-powered options work best for rentals and accent lighting.
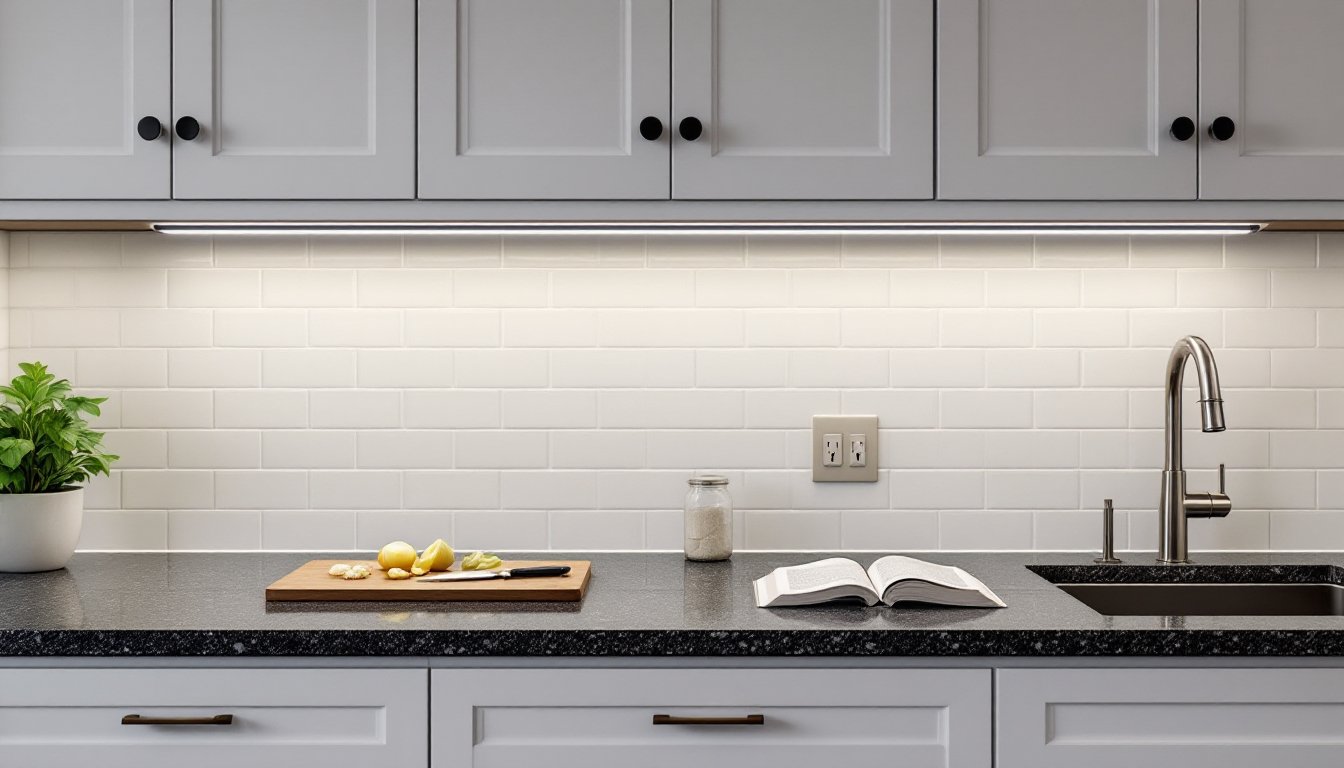
- Modern under cabinet lighting kits use efficient LEDs with dimming and color temperature control, transforming kitchen functionality in minutes without the buzzing fluorescent strips of the past.
What Is an Under Cabinet Lighting Kit?
An under cabinet lighting kit is a packaged lighting system designed to mount beneath kitchen cabinets and illuminate countertops. These kits typically include light fixtures, a power supply or transformer, mounting hardware, and connectors. Some also bundle remote controls, dimmer switches, or motion sensors.
Unlike piecing together individual components, kits offer matched components that work together out of the box. A homeowner gets consistent color temperature across multiple fixtures, pre-measured cables or connectors, and instructions tailored to the included hardware. This reduces compatibility headaches and cuts installation time.
Most kits produce between 200 and 400 lumens per linear foot, enough to eliminate shadows without glare. They mount directly to the cabinet underside using adhesive tape, clips, or screws. The light source sits close to the wall, directing output downward onto the counter rather than spilling into the room.
Types of Under Cabinet Lighting Kits
LED Strip Lights
LED strip lights consist of a flexible circuit board studded with small diodes, packaged in rolls or pre-cut lengths. These strips measure typically ⅜ inch to ½ inch wide and adhere directly to the cabinet bottom with peel-and-stick backing.
Strips excel at providing continuous, even illumination with no visible hot spots. They tuck into tight spaces and bend around corners, making them ideal for galley kitchens or cabinets with decorative trim. Most kits include a plug-in driver or a low-voltage transformer that converts household 120V AC to 12V or 24V DC.
Look for strips with a high LED density, at least 60 diodes per meter, to avoid visible gaps in the light. Lower-density strips can create a dotted effect, especially on glossy countertops that reflect individual LEDs. Color temperature matters here: 3000K produces a warm white similar to halogen, while 4000K offers neutral white that makes food prep easier.
Puck Lights
Puck lights are small, round or square fixtures, usually 2 to 4 inches in diameter, that mount individually beneath cabinets. Kits bundle multiple pucks with a single transformer or battery pack and linking cables.
These work well for spot lighting or when cabinets don’t run continuously. A three-puck kit might light a sink area, a cooktop zone, and a coffee station without wiring across empty wall sections. Pucks create pools of light rather than a uniform wash, which can look dramatic but may leave darker zones between fixtures.
Spacing matters. Position pucks 8 to 12 inches apart for overlapping coverage on standard 24-inch-deep counters. Too far apart, and shadows appear between each fixture. Installation is straightforward, most pucks twist-lock onto mounting plates screwed or adhered to the cabinet.
Linear Bar Lights
Linear bar lights are rigid fixtures, typically 12, 18, 24, or 36 inches long, that mount end-to-end or in sections. They’re essentially LED strips inside an aluminum or plastic housing with a diffuser lens.
Bars offer a clean, finished look and better protection than bare strip lights. The housing acts as a heat sink, extending LED lifespan, and the diffuser eliminates individual diode visibility. Many kits include linking connectors that snap bars together electrically and mechanically, creating a continuous run without visible gaps.
These fixtures suit modern or transitional kitchens where a tailored appearance matters. They’re slightly thicker than strips, around ½ inch to 1 inch tall, so check clearance if the cabinet sits close to a backsplash or has a decorative lip. Bar kits usually ship with end caps, mounting clips, and a driver rated for the total wattage.
Key Features to Consider When Choosing a Kit
Color temperature sets the mood and functionality. Warmer tones (2700K–3000K) mimic incandescent bulbs and feel cozy: cooler tones (4000K–5000K) improve contrast for chopping and reading labels. Some kits offer tunable white LEDs that shift temperature via remote or app.
Dimming capability adds flexibility. Not every task needs full brightness, coffee in the morning doesn’t require surgical-suite lighting. Look for kits with 0–100% dimming rather than stepped presets, and confirm compatibility with existing wall dimmers if hardwiring. Many plug-in kits include an inline dimmer or IR remote.
Lumen output determines how much light hits the counter. A general guideline: 250–350 lumens per linear foot for task lighting. Too few lumens leave the workspace dim: too many cause glare off glossy surfaces. Check the kit’s total lumens and divide by the cabinet run length to verify adequate coverage.
Color Rendering Index (CRI) affects how accurately colors appear. A CRI above 90 renders food, fabrics, and finishes true to life. Cheap LEDs with CRI in the 70s make everything look washed out or shift reds toward orange. This matters when evaluating produce ripeness or matching paint samples.
Ease of installation varies by kit design. Adhesive-mount strips install fastest but may fail on textured or cold surfaces. Screw-mount bars take longer but stay put. Pre-wired linking connectors beat splicing wires in a junction box. Battery-powered pucks avoid electrical work entirely but require periodic battery swaps or recharging.
Power supply type dictates flexibility and code compliance. Plug-in kits need an outlet inside or near the cabinet, which may require adding a receptacle. Hardwired systems connect directly to household wiring, typically requiring a permit and often an electrician. Battery kits dodge electrical codes but deliver less light and shorter runtime.
Installation Options: Plug-In vs. Hardwired vs. Battery-Powered
Plug-in kits are the fastest path to better lighting. They connect to a standard 120V outlet via a low-profile transformer. If an outlet already exists inside a cabinet, common near the sink or in a corner base, installation takes under an hour. Peel off adhesive backing, stick the lights, plug in the transformer, and route the cable along the cabinet interior.
Downsides: visible cords and a transformer that occupies outlet space. Some kits include a thin profile plug that allows a second device to share the outlet. Running cable between cabinets may require drilling small holes through cabinet sides, which renters or resale-focused homeowners might avoid.
Hardwired kits connect directly to household electrical circuits, eliminating transformers and cords. This is the cleanest look, no visible power supply, and it’s often code-required in new construction or major remodels. Hardwiring typically involves tapping into an existing circuit (like the one feeding the range hood or a nearby outlet), running 14-gauge or 12-gauge NM cable through the wall, and installing a wall switch.
Safety warning: Electrical work must comply with the National Electrical Code (NEC) and local amendments. Most jurisdictions require a permit for adding or modifying circuits. If unfamiliar with wiring, hire a licensed electrician. Incorrect connections risk shock or fire. Always turn off power at the breaker and verify with a non-contact voltage tester before touching wires.
Hardwired installation often costs more upfront but adds home value and integrates with smart switches or whole-home automation.
Battery-powered kits skip electrical work entirely. These puck or bar lights run on AA or rechargeable lithium batteries, turning on via touch, motion sensor, or remote. They suit rentals, RVs, or situations where running power isn’t feasible.
Trade-offs include dimmer output, most battery pucks deliver 50–80 lumens versus 200+ for plug-in or hardwired equivalents, and the hassle of changing or charging batteries every few weeks or months. Some newer models use USB-rechargeable batteries and magnets for quick removal, which eases maintenance.
Battery lights work best as accent or supplemental lighting rather than primary task illumination. They won’t replace a good overhead fixture but can brighten a coffee nook or highlight open shelving.

