A dark kitchen counter makes meal prep harder than it needs to be. Shadows fall exactly where the cook is chopping, mixing, or reading a recipe, and overhead lights can’t fix the problem, they’re behind the person working. Under cabinet lighting solves this by putting focused light exactly where it’s needed. It’s not a luxury anymore: it’s a practical upgrade that improves visibility, reduces eye strain, and makes countertops safer and more functional. Whether someone is retrofitting an existing kitchen or building new, understanding the options and installation methods will help them get professional results without calling an electrician for every setup.
Table of Contents
ToggleKey Takeaways
- Under cabinet lighting eliminates shadows at the counter where overhead lights fail, making meal prep safer and reducing eye strain during cooking tasks.
- LED strip lights, puck lights, and linear bar lights each serve different needs—linear bars offer the best balance of performance and appearance for most kitchen retrofits.
- A color temperature of 3000K (warm white) works well for most kitchens, and brightness should reach 200–400 lumens per linear foot with a CRI of 90+ for accurate color rendering.
- Choose between hardwired installations for permanent, clean results; plug-in systems for DIY-friendly setup; or battery-powered fixtures for temporary solutions and renters.
- Proper mounting placement, using diffusers, matching color consistency, and testing before final installation are critical to avoiding costly mistakes in under cabinet lighting projects.
Why Under Cabinet Lighting Is Essential for Modern Kitchens
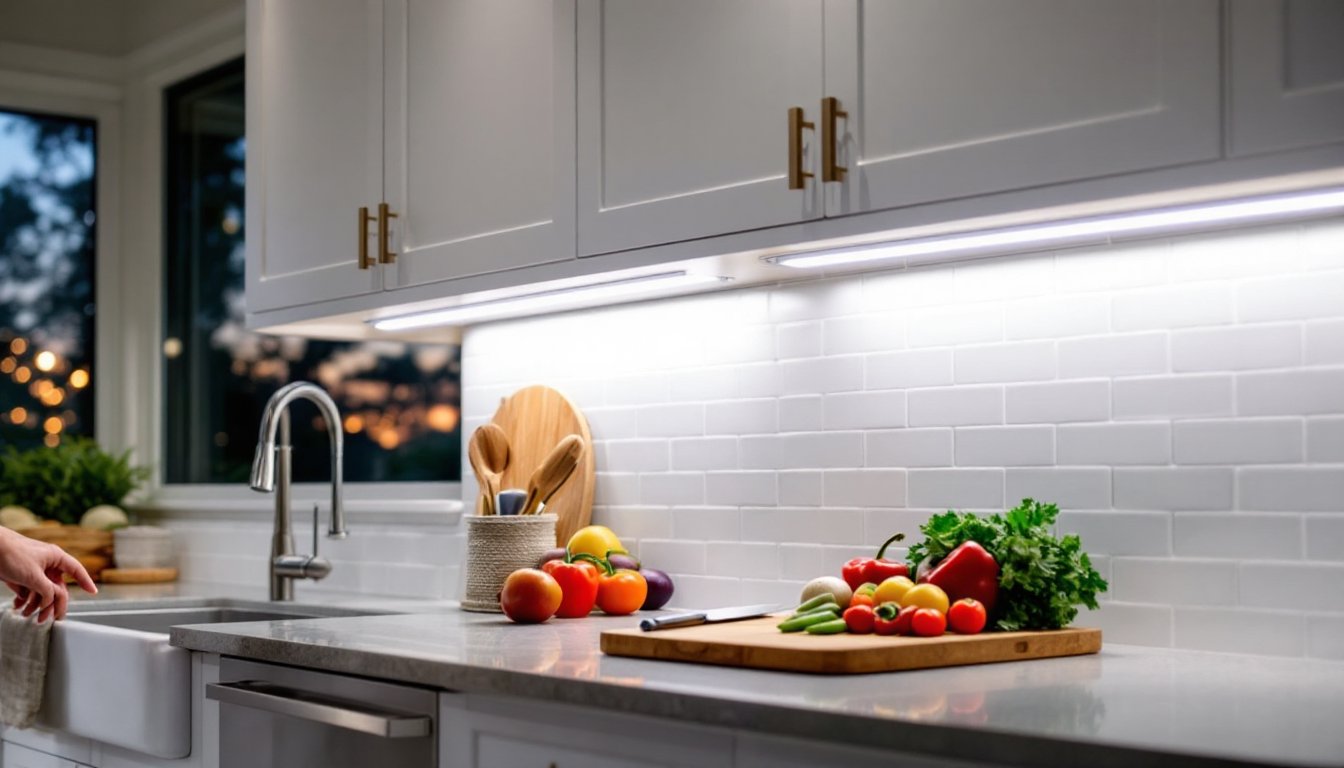
Task lighting is the workhorse of kitchen illumination. Overhead fixtures create shadows when a person stands at the counter, leaving cutting boards and stovetops in dim conditions. Under cabinet lights eliminate that problem by casting light downward from just inches above the work surface.
Beyond function, these fixtures add depth and dimension to a kitchen. They highlight backsplash tile, create visual separation between upper and lower cabinets, and make the space feel larger after dark. For resale value, they’re a relatively low-cost upgrade that signals attention to detail.
Anyone who cooks regularly, works with sharp tools, or reads recipes at the counter will notice the difference immediately. Visibility improves, and the workspace becomes more inviting. It’s one of those changes that feels obvious once it’s installed.
Types of Under Cabinet Lighting: Which One Is Right for You?
There are three main formats, and each fits different needs, budgets, and installation contexts.
LED Strip Lights vs. Puck Lights vs. Linear Bar Lights
LED strip lights are thin, flexible ribbons of diodes mounted on adhesive backing. They’re affordable, easy to cut to length, and fit tight spaces. Coverage is continuous with no dark spots, making them ideal for long runs. Downsides: adhesive can fail over time, and cheaper models show individual LED dots rather than a smooth wash of light. Look for high-density strips (at least 300 LEDs per 16.4-foot reel) and diffuser channels to soften the output.
Puck lights are small, disc-shaped fixtures spaced every 8–12 inches under the cabinet. They create pools of light rather than even coverage, which can leave gaps between fixtures. They work well for highlighting specific areas or for cabinets with structural obstructions. Installation is simple, most surface-mount with screws, but multiple units mean more wiring or more batteries to change. They’re best for spot lighting or accent work, not primary task illumination.
Linear bar lights are rigid fixtures in fixed lengths (12, 18, 24, or 36 inches). They’re the most professional-looking option, with even output, integrated diffusers, and clean lines. Many models link together with connector cables, creating a seamless run across multiple cabinets. They cost more than strips but deliver consistent performance and durability. If the cabinets have a face frame or an uneven bottom, bars may require mounting clips or spacers to sit flush.
For most retrofits, linear LED bars offer the best balance of performance and appearance. For tight budgets or unconventional layouts, high-quality LED strips in aluminum channels are a close second. Puck lights are falling out of favor except for decorative or accent applications.
Choosing the Perfect Color Temperature and Brightness
Color temperature is measured in Kelvins (K) and affects how the space feels. Warm white (2700K–3000K) mimics incandescent bulbs and creates a cozy, residential feel. It flatters wood tones and traditional kitchens. Neutral white (3500K–4000K) is closer to daylight and works well in contemporary spaces with white or gray cabinetry. Cool white (5000K+) is crisp and clinical, good for task-heavy work but can feel sterile.
Most homeowners find 3000K the sweet spot: warm enough to feel inviting, bright enough for precision work. Some fixtures offer tunable white LEDs, letting users adjust the temperature to match the time of day or task.
Brightness is measured in lumens. For under cabinet lighting, aim for 200–400 lumens per linear foot of counter. A 24-inch section of cabinet should deliver roughly 400–800 lumens for comfortable task lighting. Too little, and it won’t help: too much, and it creates glare on glossy countertops.
Check the CRI (Color Rendering Index) as well. A CRI of 90+ ensures food, finishes, and colors look accurate. Cheap fixtures often sit at 80 CRI, which can make everything look washed out. It’s worth spending a few extra dollars for better color quality.
Installation Options: Hardwired, Plug-In, or Battery-Powered
Installation method depends on access to power, budget, and whether the homeowner wants a permanent solution.
Hardwired fixtures connect directly to household electrical via junction boxes. They’re the cleanest look, no visible cords, and they don’t rely on batteries or outlets. But, hardwiring requires either an existing switched circuit or running new wire through walls or cabinets. In most jurisdictions, this work must meet NEC (National Electrical Code) standards. It’s legal for a homeowner to do their own electrical work in many areas, but anyone unfamiliar with wire gauges, circuit load, and proper splicing should hire a licensed electrician. Expect to pay $200–$500+ for professional installation, depending on complexity.
Plug-in systems come with a transformer and standard wall plug. They’re DIY-friendly and don’t require electrical knowledge. The challenge is hiding the cord. If there’s an outlet inside a cabinet or behind the backsplash, routing is straightforward. If not, cords dangling down the wall look unfinished. Cable raceways or cord covers help, but they’re still visible.
Battery-powered fixtures are the fastest install, just stick or screw them up and flip the switch. No wiring, no electrician. The tradeoff is maintenance: batteries (usually AA or rechargeable lithium) need replacing or recharging every few weeks to months, depending on usage. Motion-activated battery pucks work well in pantries or closets but aren’t practical for everyday kitchen task lighting. Battery power is best for renters or temporary setups, not long-term solutions.
If cabinets are already installed and there’s no easy power access, plug-in is the pragmatic middle ground. If doing a remodel or new build, hardwired is worth the effort.
Smart Features and Dimming Controls Worth Considering
Dimming isn’t optional anymore, it’s essential. Full-brightness task lighting is great for chopping vegetables, but no one wants a spotlight at midnight when grabbing a glass of water. Most quality LED fixtures now support dimming, but not all dimmers are compatible with LED drivers. Use a dimmer rated for LED loads, not an old incandescent dial, or the lights will flicker or hum.
Some systems include inline dimmers (a small dial or touch sensor on the cord), which work fine for plug-in setups. For hardwired installs, install a wall switch with dimming capability. Lutron, Leviton, and others make reliable LED dimmers: check the fixture’s spec sheet to confirm compatibility.
Smart lighting integrates with home automation platforms like Alexa, Google Home, or Apple HomeKit. Users can set schedules, adjust brightness by voice, or sync lights with other smart devices. Smart under cabinet lights typically require a hub or Wi-Fi connection and cost more upfront, but the convenience is real for anyone already invested in a smart home ecosystem.
Motion sensors are hit-or-miss in kitchens. They’re useful in pantries but can be annoying when the lights turn on every time someone walks past the counter. If considering motion activation, look for models with adjustable sensitivity and timeout settings.
For most installs, a simple dimmer switch or inline control is enough. Smart features add convenience but aren’t necessary for a functional lighting upgrade.
Common Mistakes to Avoid When Installing Under Cabinet Lights
Mounting too far back. Lights should sit near the front edge of the cabinet, not pushed toward the wall. If they’re too far back, they’ll cast shadows from items on the counter and create glare on the backsplash. Aim for the front third of the cabinet depth.
Skipping diffusers or channels. Bare LED strips show individual dots of light, especially on polished countertops. Aluminum channels with frosted diffuser lenses soften the output and make the installation look professional. They also protect the strip and help with heat dissipation.
Ignoring color consistency. Mixing fixtures from different manufacturers, or even different production batches, can result in color shifts. One section glows warm, another cool. Buy all fixtures from the same brand and lot if possible, and test them before final installation.
Overloading circuits. LED fixtures draw minimal power, but connecting too many on a single transformer or dimmer can cause failure. Check the maximum wattage rating on the driver or dimmer and add up the fixture loads. Leave a 20% safety margin.
Forgetting about heat. LEDs run cooler than halogens, but they still generate heat. Ensure fixtures have ventilation and aren’t packed into fully enclosed spaces without airflow. Heat shortens LED lifespan.
Rushing the wiring. For hardwired installs, turn off the circuit breaker and verify power is off with a non-contact voltage tester. Use proper wire nuts, secure connections with electrical tape, and ensure everything is tight before restoring power. Loose connections cause arcing and fire risk.
Not testing before permanent mounting. Always dry-fit and power up the system before adhering strips or driving final screws. Confirm brightness, color, and coverage, and make sure all connections work. Fixes are easier before everything is locked in place.
DIYers who plan the layout, use quality components, and take time with the install will get results that rival professional work. Those who skip steps or cheap out on materials end up redoing it in a year.

