Natural light from a window over the kitchen sink is a prized feature, but it doesn’t eliminate the need for artificial lighting. Morning coffee prep, evening dish washing, and overcast days all demand reliable task lighting. The challenge lies in choosing fixtures that complement the window without creating glare, blocking views, or looking awkwardly placed. Getting it right means balancing function with fixture style, considering electrical placement, and understanding how light interacts with reflective surfaces like water and stainless steel. This guide walks through practical solutions for lighting a sink area with a window.
Table of Contents
ToggleKey Takeaways
- Artificial lighting over a kitchen sink with a window is essential for safety and functionality, as natural light alone cannot cover early mornings, evenings, and overcast days when task visibility is critical.
- Lighting over kitchen sink should follow NKBA standards of 150 lumens per square foot for task areas, with pendant lights (800–1000 lumens) or recessed lights (600–800 lumens per can) as ideal options.
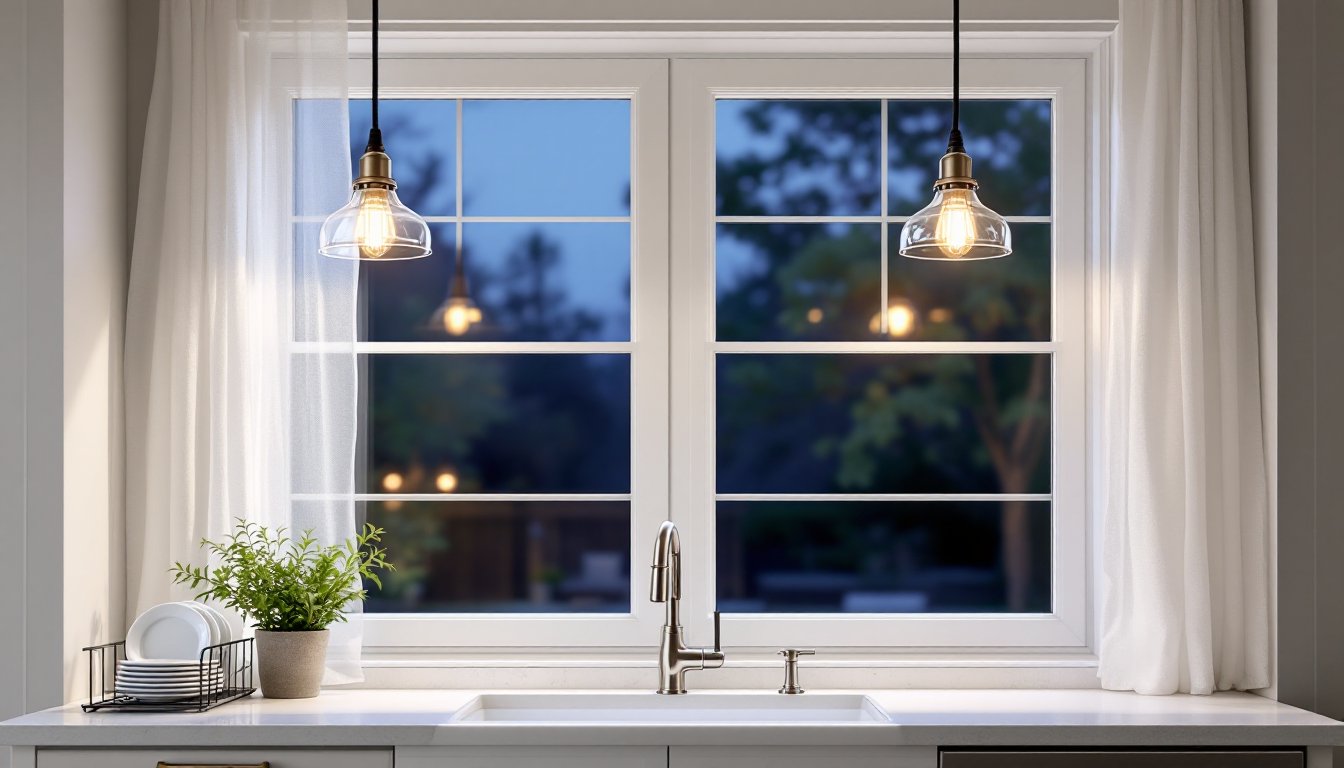
- Position fixtures symmetrically on either side of the window 12–18 inches from the frame to eliminate nighttime glare and reflection while ensuring even light distribution across the sink.
- Choose a color temperature of 3000K–3500K with a CRI (Color Rendering Index) of 90 or higher to accurately render food colors and spot stains without creating a cold or muddy appearance.
- Use moisture-rated fixtures and follow local electrical codes, including GFCI protection and proper permits, to ensure safety and avoid corrosion in the humid kitchen sink environment.
- Install switches within 36 inches of the sink or use motion sensors for convenience, and verify that all bulbs support dimming if adding a dimmer switch for task flexibility.
Why Kitchen Sink Lighting Matters Even With a Window
Windows provide excellent daytime illumination, but relying solely on natural light leaves gaps. Early mornings and evenings, prime times for kitchen use, often lack adequate sunlight. Even midday light shifts with seasons and weather, creating shadows that make tasks like vegetable prep or spotting residue on dishes more difficult.
Task lighting at the sink serves a functional purpose. The National Kitchen & Bath Association (NKBA) recommends a minimum of 150 lumens per square foot for task areas, significantly higher than ambient lighting levels. Without dedicated fixtures, users strain their eyes or shift positions to avoid shadows cast by their own bodies.
Safety also factors in. Water, sharp knives, and cleaning chemicals require clear visibility. Poor lighting increases the risk of cuts, spills, or incomplete cleaning that leaves bacteria behind. A window doesn’t eliminate these concerns, it simply makes them less obvious during sunny hours.
Finally, aesthetics play a role. A dark sink area at night creates an unappealing void in an otherwise well-lit kitchen. Strategic lighting maintains visual balance across the space, making the room feel complete and inviting regardless of the time of day.
Best Lighting Options for Kitchen Sinks With Windows
Several fixture types work well above or around a windowed sink, each with distinct installation requirements and visual effects.
Pendant Lights: Stylish and Functional
Pendant lights hang from the ceiling on cords, chains, or rods, positioning the light source closer to the work surface. They’re ideal when the window doesn’t extend all the way to the ceiling, leaving room for mounting above the trim.
For a standard 36-inch-wide sink, one centered pendant (10–14 inches in diameter) or two smaller pendants (6–8 inches each) work well. Hang them 30–40 inches above the countertop, high enough to avoid head bumps but low enough to focus light downward. Glass or perforated metal shades prevent harsh shadows while allowing upward light to balance the room.
Electrical considerations: If no existing junction box sits above the sink, installing one requires cutting into the ceiling and routing cable. This may mean opening drywall on the floor above or working from an attic. Consult local electrical codes, some jurisdictions require GFCI protection for outlets and fixtures within a certain distance of water sources, even overhead. If unsure about ceiling joist locations or circuit capacity, hire a licensed electrician.
Recessed Lighting: Clean and Unobtrusive
Recessed cans (also called downlights or pot lights) mount flush with the ceiling, making them nearly invisible. They work especially well when ceiling space is limited or when the homeowner prefers minimal visual clutter.
Install two 4-inch or 6-inch cans flanking the window, positioned 18–24 inches apart and centered over the front edge of the sink. This prevents the window frame from blocking light while ensuring even coverage. Use adjustable trim or eyeball inserts to angle light toward the basin if the cans sit farther back.
Choose LED retrofit kits rated for damp or wet locations (check the fixture’s IP rating). Standard recessed housings are available in remodel styles (with integral clips that grip drywall from below) or new-work styles (which nail to joists before drywall installation). Remodel cans are the go-to for existing kitchens.
One drawback: Recessed lights require ceiling depth. Measure the space between the ceiling drywall and any obstruction (ductwork, plumbing, insulation). Most remodel cans need 6–8 inches of clearance. Shallow-profile or wafer-style LEDs fit tighter spaces but may offer fewer dimming options.
How to Position Lights Around Your Window
Placement determines whether lighting enhances or fights the window. Poor positioning creates glare on glass at night, turning the window into a black mirror that reflects the fixture instead of providing a view.
Avoid centering a single fixture directly in front of the window. At night, the reflection dominates, and during the day, the contrast between bright glass and a shadowed fixture looks unbalanced. Instead, use symmetrical flanking: position fixtures on either side of the window, 12–18 inches from the frame. This spreads light evenly across the sink while minimizing reflection.
If the window occupies the full width of the sink area, consider angled recessed lights installed slightly forward, aimed back toward the window wall. This approach illuminates the countertop without casting shadows from the user’s torso.
For under-cabinet lighting (if cabinets flank the window), extend LED strip lights or puck lights to within 6–8 inches of the window trim. This fills the gap without requiring overhead fixtures. Use warm white (2700–3000K) LEDs to match typical kitchen lighting and prevent a clinical look.
Another option: wall-mounted sconces on either side of the window, positioned 60–66 inches above the floor. This works best with larger windows (48 inches or wider) and adds a decorative element. Ensure sconces have downward-facing shades to direct light onto the counter, not into the user’s eyes.
Choosing the Right Light Temperature and Brightness
Color temperature affects how colors appear and how awake the user feels. The Kelvin scale measures this: lower numbers (2700K–3000K) produce warm, yellowish light, while higher numbers (4000K–5000K) create cool, bluish tones.
For kitchen sinks, 3000K–3500K strikes a practical balance. It’s warm enough to feel inviting but neutral enough to accurately render food colors and spot stains. Avoid 2700K (common in living rooms), which can make tasks harder by muddying contrast. Skip 5000K+ unless the entire kitchen uses daylight-balanced fixtures, mismatched temperatures look jarring.
Brightness depends on fixture type and user preference. For pendant lights, aim for 800–1000 lumens per fixture (equivalent to a 60–75W incandescent bulb). For recessed lights, 600–800 lumens per can works well, since two cans provide combined output.
Dimmer switches add flexibility. Wire them using compatible LED bulbs (not all LEDs dim smoothly, check packaging for “dimmable” labels). A dimmer lets users dial down intensity during late-night tasks or ramp up for detailed work like reading recipes or inspecting glassware.
One technical note: CRI (Color Rendering Index) matters for task lighting. Choose bulbs with a CRI of 90 or higher. Lower CRI values distort colors, making it harder to judge whether produce is ripe or surfaces are clean. Most quality LED bulbs list CRI on the box.
Common Mistakes to Avoid When Installing Sink Lighting
Skipping moisture considerations is the top error. Even without direct water contact, fixtures above sinks face humidity and occasional splashes. Use damp-rated or wet-rated fixtures (check the UL listing). Standard “dry location” lights corrode faster and may pose electrical hazards.
Another frequent mistake: ignoring switch placement. Placing the switch across the room forces users to walk through a dark kitchen. Install it within 36 inches of the sink or use a motion sensor that activates when someone approaches. Three-way switches (one by the sink, one at the kitchen entry) offer convenience but require running three-conductor cable between boxes.
Overlooking dimming compatibility frustrates homeowners later. Non-dimmable LEDs hum, flicker, or fail prematurely on dimmer circuits. If adding a dimmer, verify every bulb in the circuit supports it. Mismatched bulbs cause inconsistent brightness.
Poor wire management shows in pendant installations. Excess cord dangling or bunched inside a canopy looks sloppy. Most pendants allow cord adjustment, trim it before final installation, leaving just enough slack to remove the canopy for future bulb changes.
Finally, neglecting permits for new wiring invites trouble. Many jurisdictions require electrical permits for adding circuits or junction boxes. Inspectors check for proper box fill (number of wires vs. box volume), correct wire gauge for circuit amperage, and secure cable routing. DIYers comfortable with basic wiring can often handle fixture swaps on existing boxes, but running new cable through walls or ceilings typically requires a permit and inspection. When in doubt, consult the local building department or hire a pro.

